10 Trolling Motor Maintenance Tips
This trolling motor maintenance checklist will help you keep your Minn Kota running like new for years to come.
Arguably the most important tool on your fishing boat is your trolling motor. Can you guess which tool takes the most abuse on your boat? It's likely your trolling motor. They get bumped against stumps, rocks, docks, ran for hours on end, and abused by weather.
Minn Kota trolling motors have been around for over 86 years and they're the toughest out there, but that doesn't mean periodic maintenance should be ignored.
We're going to break down the most important trolling motor maintenance and care procedures for all trolling motors to keep them running like new for years to come.
A little bit of TLC goes a long way in keeping this important fishing tool in good condition.
Clean Trolling Motor Prop of Weeds and Fishing Line
We take our trolling motors and boats into thick vegetation, stump fields, dirt shallow bays, and other areas that can gunk up our trolling motor prop. Many of these areas are spots where other anglers have gotten baits snagged and broken off.
Stray fishing line can damage your motor more than you might think. It's critical to remove any fishing line or weeds that you've picked up over the course of a fishing day because if line or weeds get behind the prop, it can damage the seals and allow water to enter the lower unit of the motor - causing much bigger headaches.
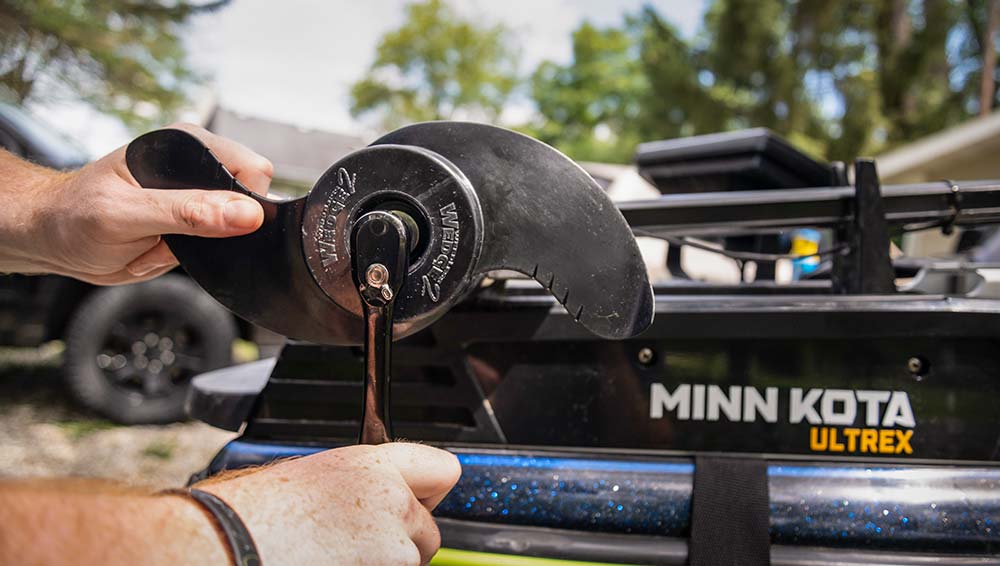
Not only is it important to pull off any grass or fishing line during your day of fishing, but it's also important to remove your prop completely and do a deeper inspection for weeds and fishing line that has crept behind your prop.
Disconnect power, break out that socket (9/16) or wrench, pull off your propeller, and remove all vegetation and fishing line that has wrapped around the trolling motor prop shaft.
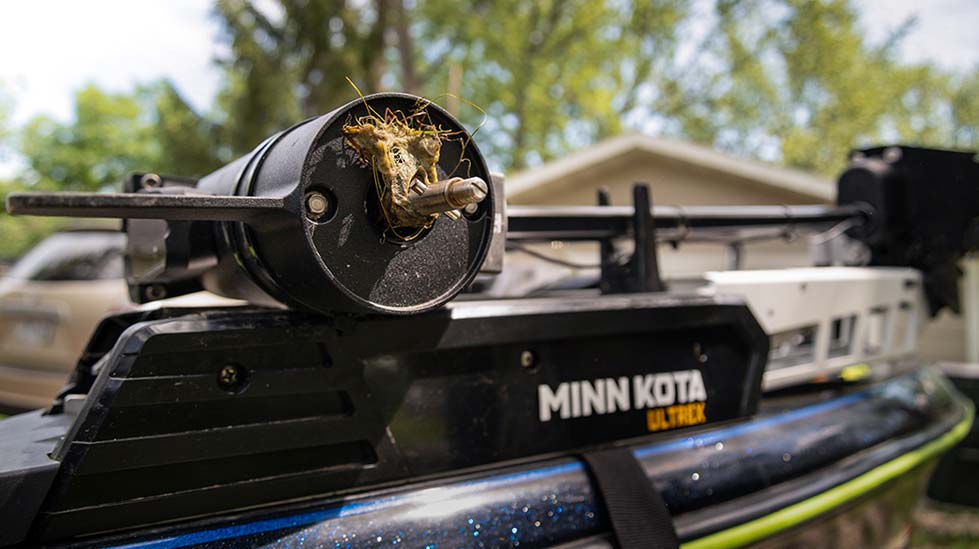
Frequency: Clean vegetation off of prop during and after every outing. Remove prop and inspect for vegetation and fishing line after every few uses - it only takes a minute.
Make sure you reference your trolling motor owner's manual for in-depth guidelines.
Remove and Inspect Trolling Motor Prop Drive Pin
While your prop is off, it's a good time to check the Prop Drive Pin for wear or to check if it is bent.
Remember that time that you were trolling along and slammed into a stump or rock? Those moments are where your prop pin can be bent or broken. They are designed to bend or break under pressure to prevent greater damage from happening to your prop and driveshaft.
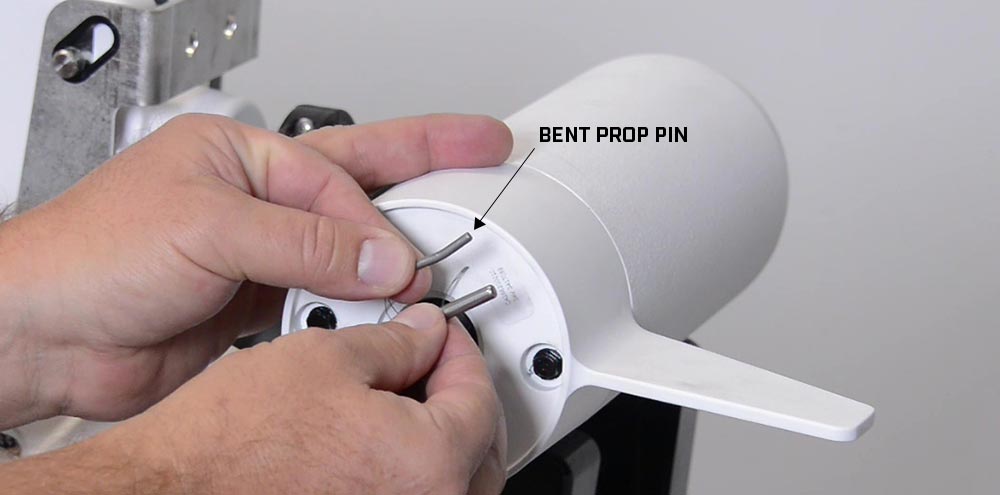
Luckily, these pins can be quickly and easily replaced.
Make sure you reference your trolling motor owner's manual for in-depth guidelines.
See our Trolling Motor Prop Selection Guide if you need to replace a prop.
Frequency: 2-4 times a year or more depending on how often you fish.
Wash Your Trolling Motor - Especially When Fishing In Saltwater
Freshwater trolling motors: Spray down your entire trolling motor with water to lightly clean the motor when you're able (ideally after every few uses).
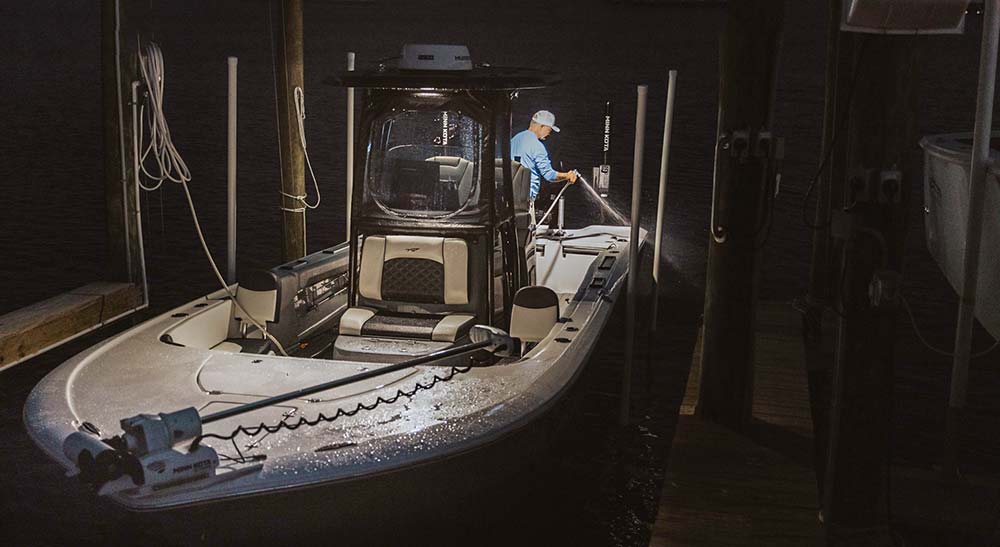
Saltwater trolling motors: Just as important as spraying down your boat, it is also important to rinse your trolling motor with fresh water after every trip when fishing in saltwater environments!
Lubricating Your Trolling Motor
Next time you give your boat a wash, don't forget to lubricate your trolling motor shaft.
This can be done after you have cleaned your trolling motor with water and a mild soap solution and wiped dry.

Grab a bottle of Pledge multipurpose cleaner, Armor All, or another water-based* silicone spray and apply some spray to a soft cloth, and wipe down the composite trolling motor shaft.
This lubrication helps ensure smooth deployment and stowing of your trolling motor, especially on electric steer motors.
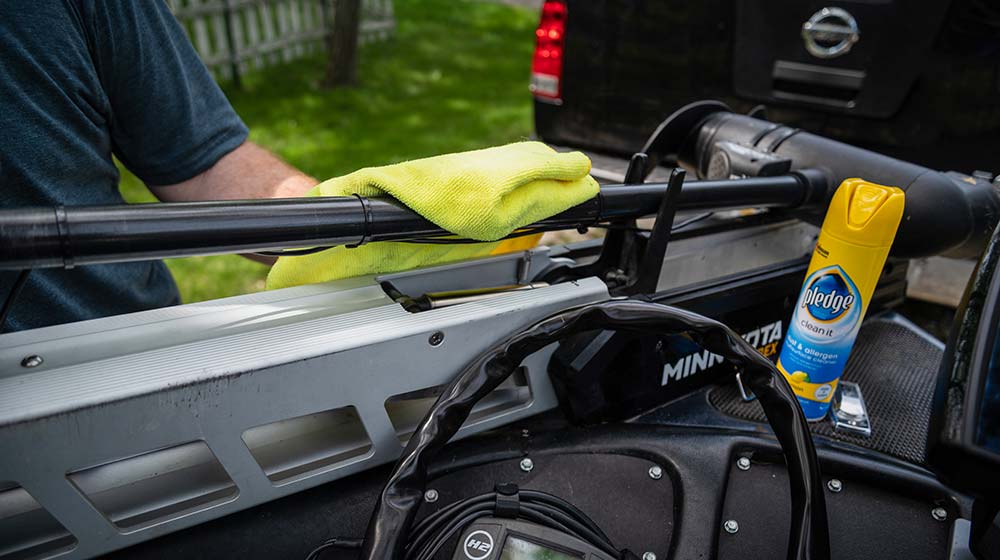
*Important - Make sure the spray chosen is aqueous-based, NOT oil-based! Avoid wood polish spray as they contain oil.
Frequency:
Freshwater trolling motors - Every few uses. Saltwater trolling motors - After every use.
Tighten Mounting Bolts
Vibration is the worst enemy of most marine equipment, and when mounting bolts become loose or a stabilizer bar is not holding tight to the deck of the boat, bushings and other moving parts can take serious abuse – especially when running in heavy waves and chop.
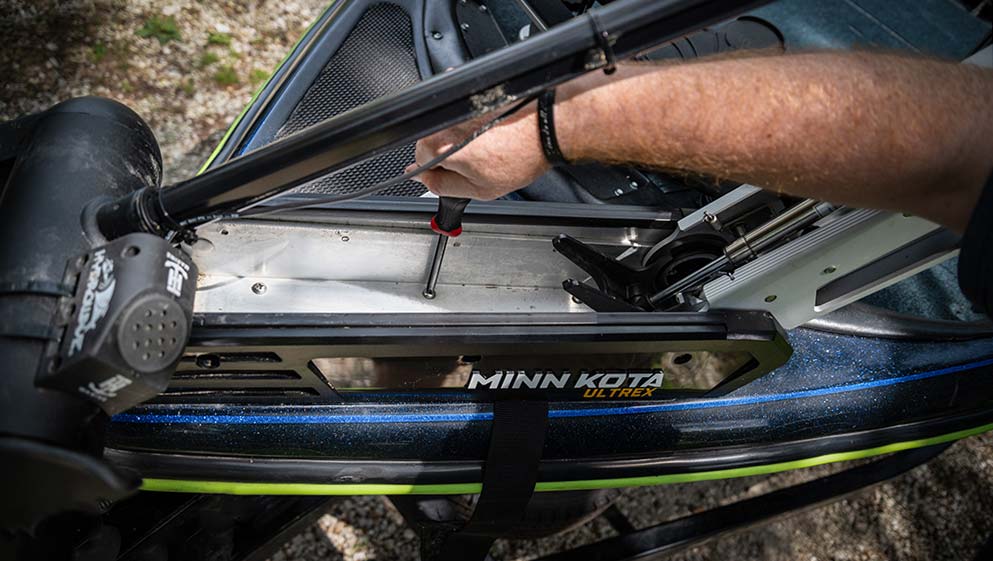
Check all mounting points and tighten.
Frequency: Depends on how often you fish, but a couple of times a year is best and before/after your fishing season.
Check and Tighten Battery Connections
Poor connections to batteries are one of the most common sources of trolling motor problems. All trolling motors require a clean connection to power to run effectively.
While this doesn't necessarily extend the life of your trolling motor, it does prevent unwanted headaches during your valuable time on the water.
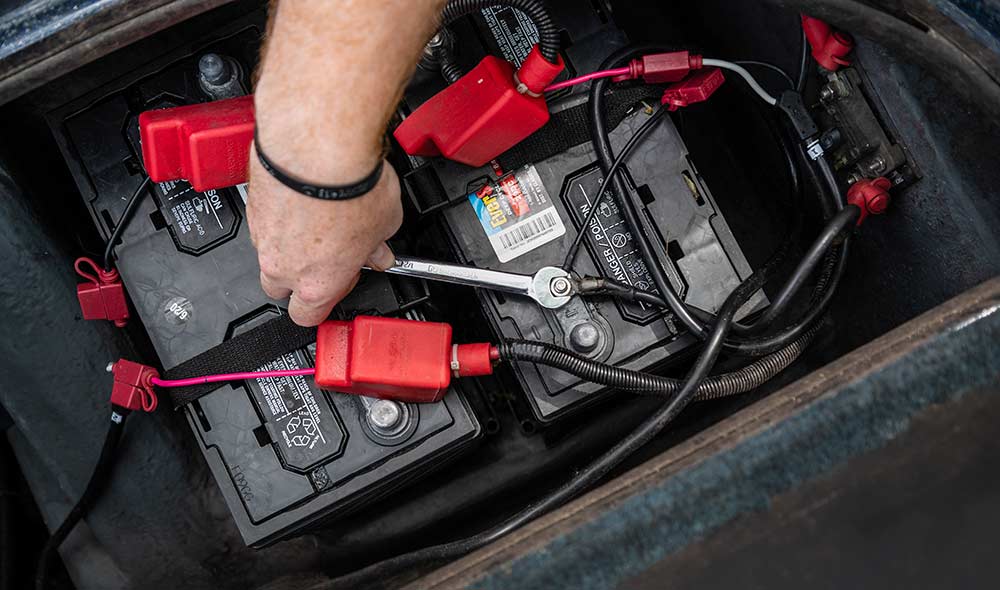
Simply pull out your wrench or socket and check that all connection points are snug.
While you are there, check the battery terminals and wires for corrosion. Give them a quick clean with fine sandpaper or emery cloth and replace any corroded wires.
It's also important to check any additional connection points, for example, where your trolling motor wire meets a terminal ring. If it's loose, re-snug or replace the terminal ring.
Frequency: It only takes a minute, so it may be good to check every or every other outing depending on how often you fish.
Properly Charge Your Trolling Motor Batteries
Your batteries are the lifeblood of your trolling motor and keeping them in a healthy state is the most critical piece to trolling motor performance.
For maximum battery life, recharge the battery as soon as possible after every use. For best motor performance, restore the battery to full charge prior to use.
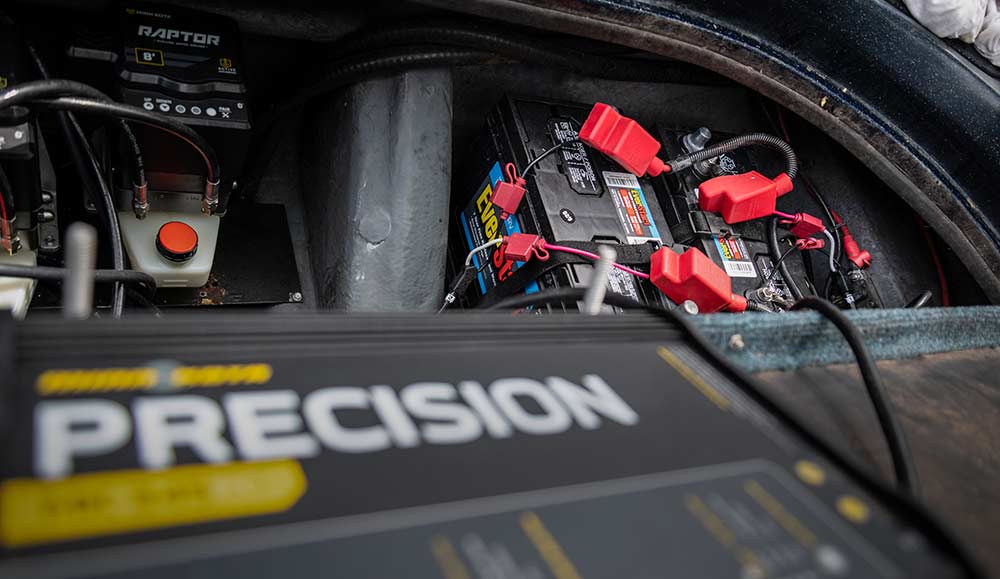
Check out The Importance of Marine Battery Maintenance and How to Charge a Deep Cycle Battery articles for in-depth tips and recommendations to ensure you get the most out of your batteries.
Also, consider adding an On-Board Charger to simplify your charging process and to confirm that you apply the proper charge for your battery type to ensure a long lifespan.
Frequency: After every use.
Trolling Motor Cable Management and Inspection
Using zip ties and/or PET expandable braided sleeving are easy and cheap ways to clean up any excess cables you may have near your trolling motor.
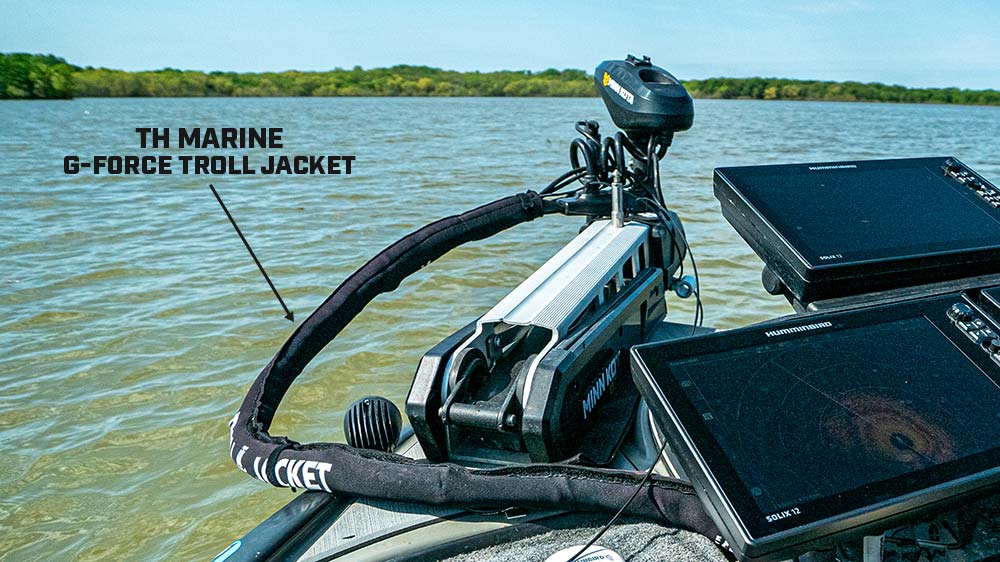
When stowing cable steer style bow mount motors like Ultrex (Mono-Arm), Fortrex (Mono-Arm), Edge, and Maxxum you should be mindful of the power and built-in transducer cables and how they lay down because if not routed properly, they can get caught inside of the bracket and are susceptible to being pinched or even cut. Allow your cables to fall in a safe place and it's often a good idea to protect them with any of the following solutions.
Popular cable management solutions include:
- PET Expandable Braided Sleeving
- TH Marine G-Force Troll Jacket Organizer Sleeves
- DD26 Trolling Motor Cable Management Sleeve Wrap
Frequency: Initial install to ensure cables are clear of pinching and inspection of cables routinely throughout the year
Steering Cable Tension Adjustment – Cable Steer Motors Only
The steering cable tension is pre-set at the factory but, through normal use, it may need occasional adjustment to ensure the proper "feel" when steering (Ultrex, Fortrex, Maxxum, and Edge Models).
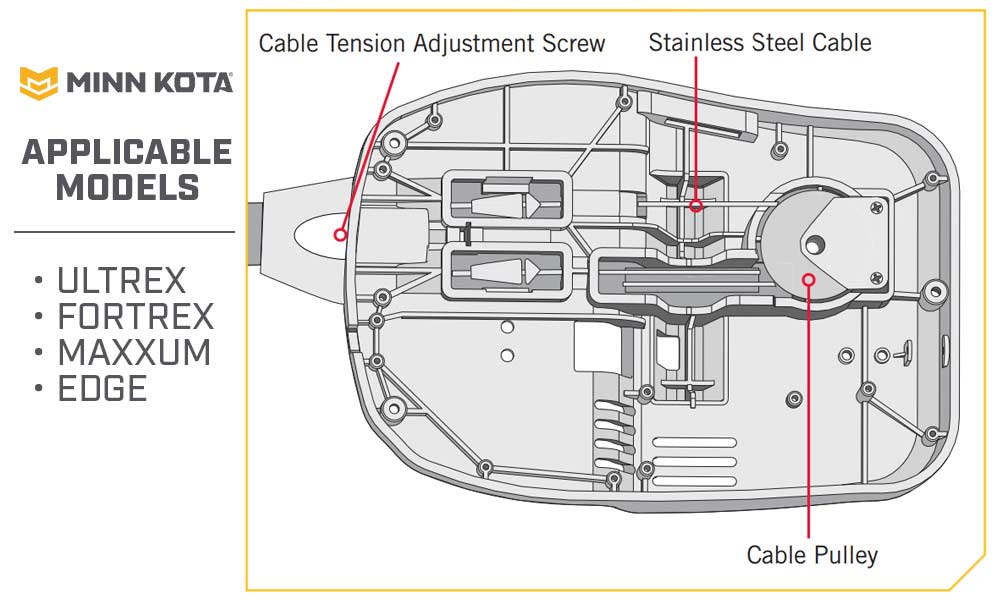
Adjust the tension of the cables by turning the cable tension adjustment screw (Phillips pan-head screw) located near the bottom of the foot pedal, just under the steering cable cover.
Turn the screw clockwise to increase tension and counter-clockwise to decrease tension.
Frequency: When/if you feel a noticeable change in foot pedal tension.
Prolonged Storage Prep
Lightly coat all metal parts with an aqueous/water-based silicone spray or Pledge cleaner like mentioned above.
Spray into a soft cloth and simply dab or wipe all metal parts of the trolling motor.
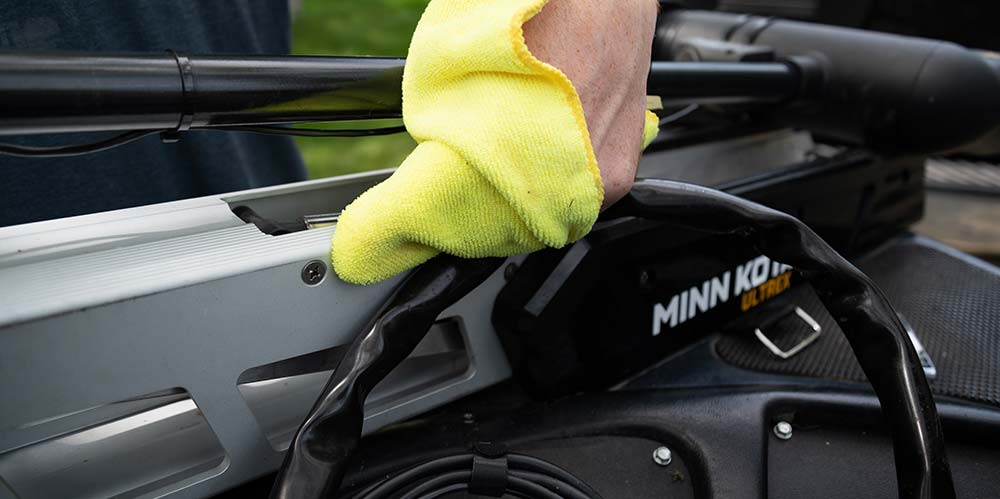
Disconnect the trolling motor from its power source/battery prior to storing.
As mentioned in the first two tips, we recommend connecting your batteries to a smart on-board battery charger to apply the perfect charge over long periods of time.
Frequency: Prior to long-term storage before offseason.
BONUS: Weedless Prop Performance
The Minn Kota Weedless Wedge 2™ prop is designed to provide weed-free operation with very high efficiency. To maintain this performance, it's important that the prop blades are kept smooth.
As your prop bounces off of rocks, stumps and other hard objects it can get nicked or roughed up.
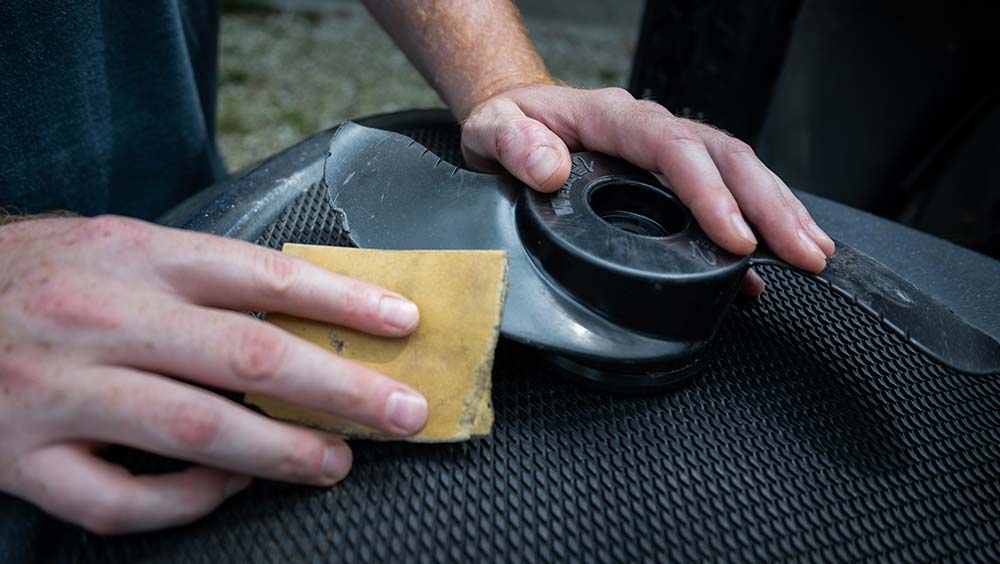
If this happens, you can smooth the prop blades by sanding them with very fine sandpaper to ensure its weedless effectiveness.
See our Trolling Motor Propeller Selection Guide if you need to replace a prop.
Frequency: Once a year or situational as needed.
Put these basic trolling motor maintenance tips to use after your next fishing trip and keep your motor running like new.
Please reference your Minn Kota trolling motor owner's manual for more information on general maintenance and steps to complete certain procedures.

Other Relevant Resources
- The Importance of Marine Battery Maintenance - In this short article, we explain how to get more life out of your trolling motor and cranking batteries.
- How to Charge a Deep Cycle Lead Acid Battery (Properly) - We break down what a deep cycle battery is and how to choose one, AGM vs Gel, proper charging, and maintenance, battery charging cycles, charging times, charger recommendations, on-board chargers, and their benefits and portable marine battery chargers.
- Trolling Motor Wiring and Battery Guide - Recommendations for trolling motor circuit breaker sizing, selecting the correct battery, and how to connect batteries in a series/parallel.
- Trolling Motor Wiring Diagrams - Schematic outlines for 12v, 24v, 36v, and 48v systems.
- How to Select the Proper Trolling Motor Thrust for Your Boat - In this short article, we share considerations and recommendations for selecting the proper bow-mount or transom-mount trolling motor thrust for your boat.
- Installation and Rigging Guides - Check out these resources for proper installation, wiring, networking, and much more.
- Trolling Motor Prop Selection Guide - This chart will help you pick out the best propeller for your Minn Kota trolling motor.
